If you know me, you know I spent January through March of this year in Port Townsend, Washington attending a three month woodworking intensive at the Port Townsend School of Woodworking (great class, great people, highly recommend). If you don’t know me, now you know that much. One of the things you learn when start getting serious about woodworking is how much time you spend “using your tools to make tools and using your tools to improve your tool-holding tools” (quote from my friend Rob who encouraged me to start down this path).
Last year at this time, I had two saws. A cheapo Stanley panel saw used mostly for quickly changing the size of wood, but not in an artful way, and a little Bear pull-saw, which has been my main way of cutting things nicely for probably 15 years. I had one handplane, an old Sears model that was a rebranded Stanley 200, that I got as a gift when I was a kid. I couldn’t tell you the last time I used it, much less sharpened it.
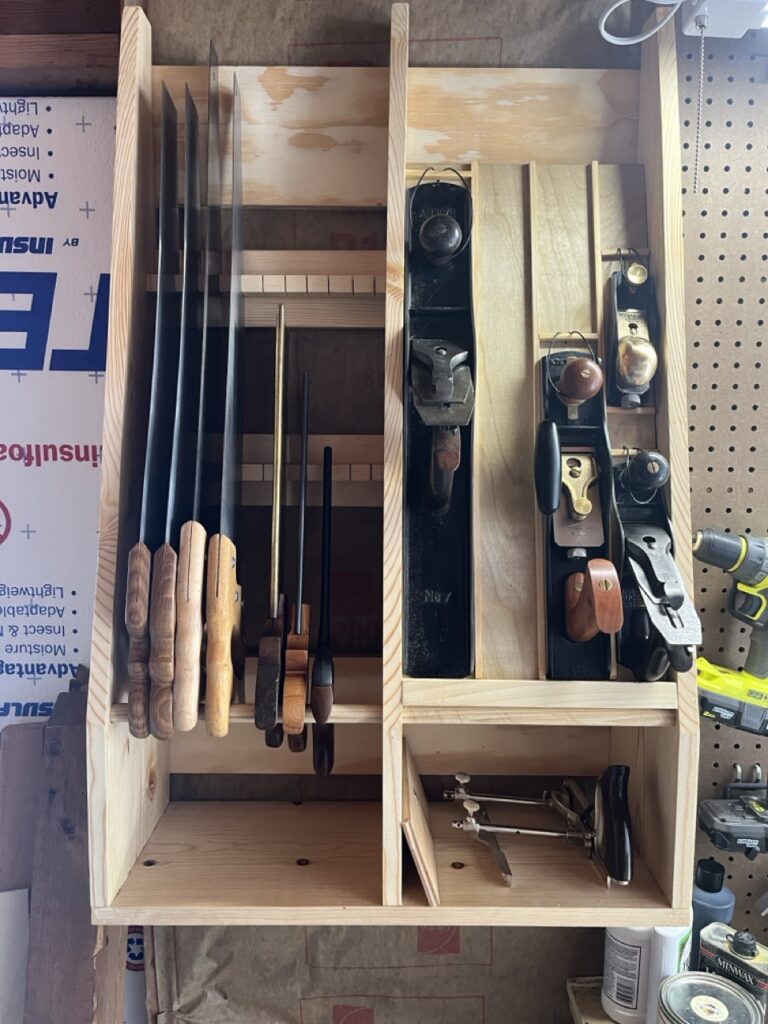
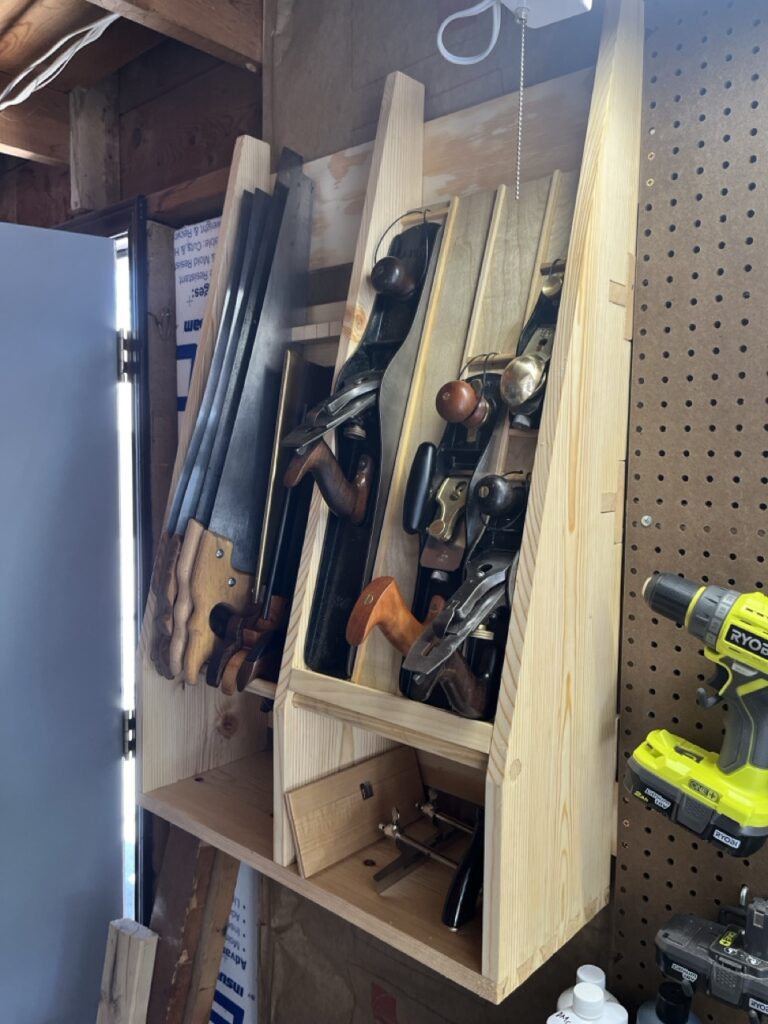
Now I have 7 more handsaws ranging from very nice to quite nice to “the saws I learned to sharpen on that work really well, but will go unnoticed due to being not fancy” and have five more handplanes, of similar quality to the handsaws. The saws were all taking up space on the pegboard and the planes were using up most of a shelf and that didn’t really suit them.
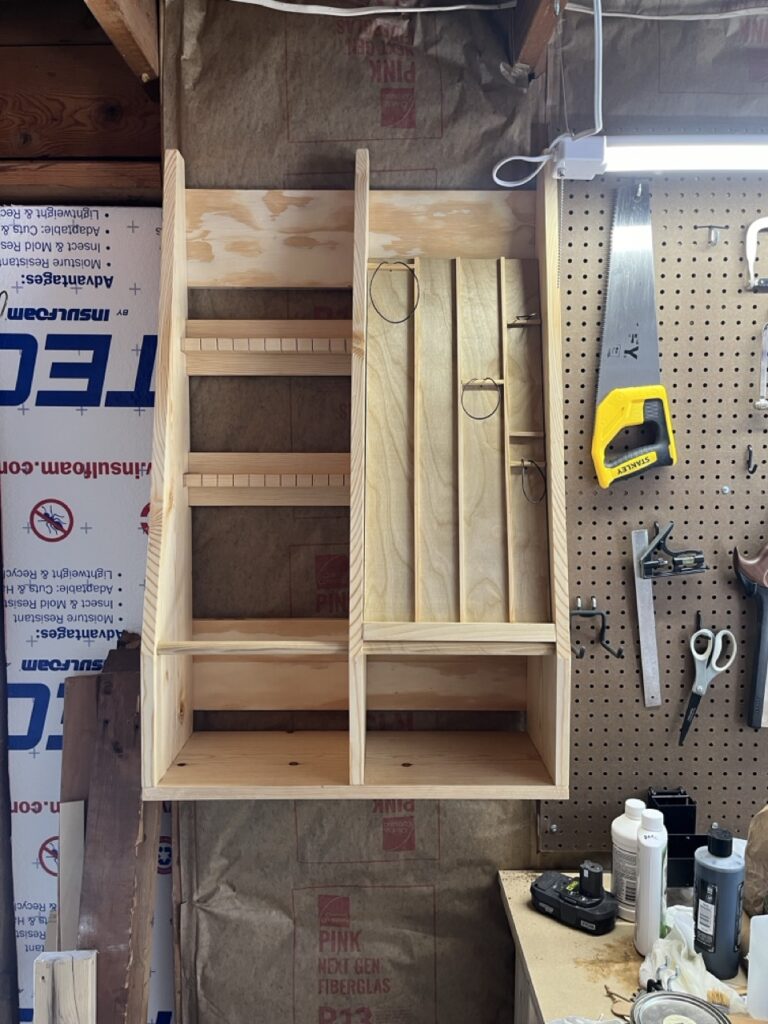
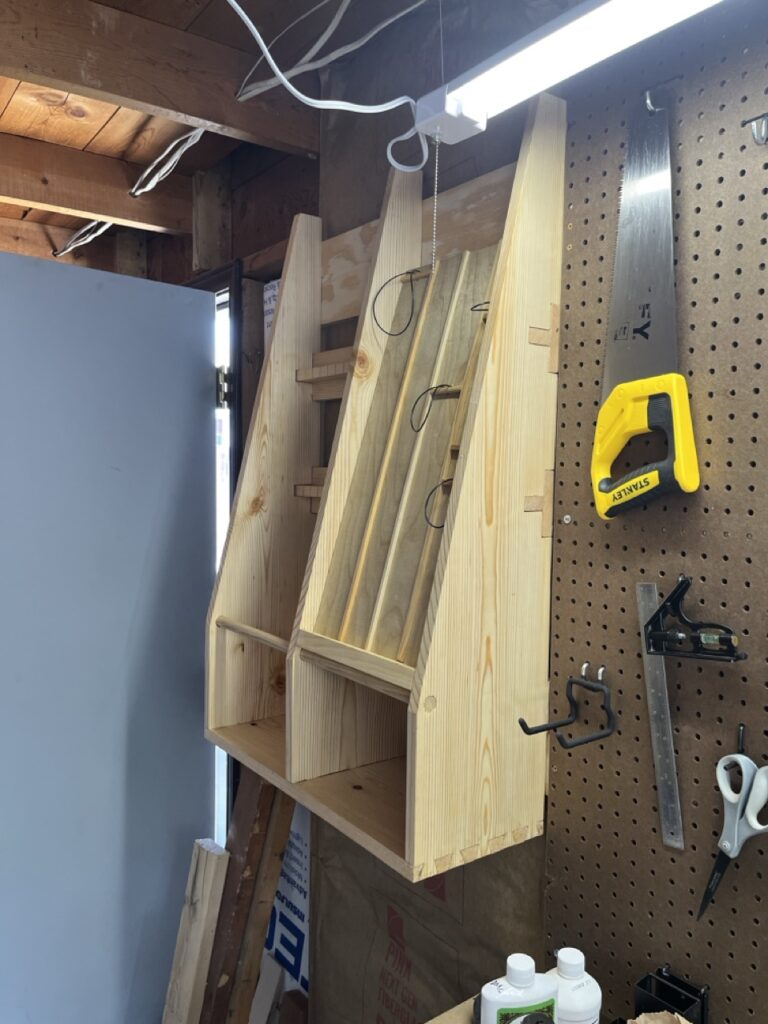
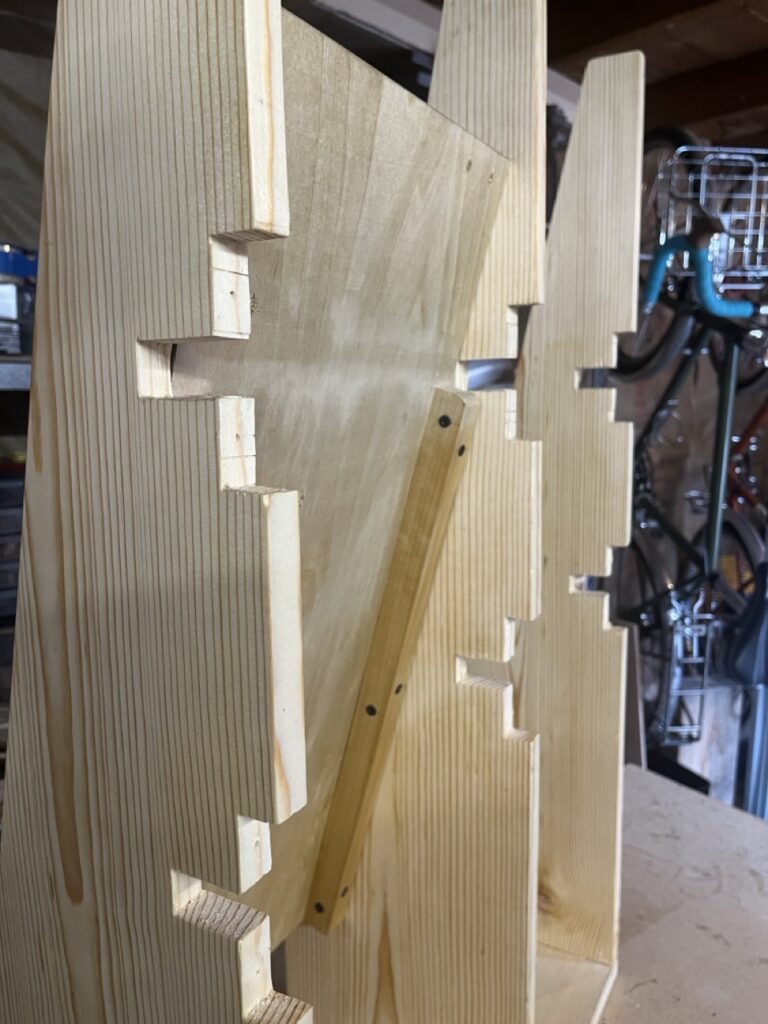
So I built a saw and plane till.
The project actually started as just a saw till, because I had assembled the collection of saws mentioned above. At the start of the project, I still only had two handplanes and they fit on a tiny shelf. However, almost as soon as I started work, I acquired three new planes in rapid succession. I now needed storage for them. Luckily, I had decided to make my saw till 24″ wide to sit nicely on the 24″-on-center studs of my garage, and that was enough room for all the saws and planes. I added a center vertical board to the plan that I was using and just attached the plane till there.
In the end, I didn’t have quite enough of an angle to feel comfortable just leaving the planes sitting on the till. They do rest on it without falling, but a good bump could send a couple them to the floor, so I added some leather loops that fit loosely around the front knobs. Just close enough that a good jolt would leave the plane hanging but not on the concrete floor.
I started with the Wood by Wright saw till plans (not an affiliate link, just a link) and after deciding to add the planes, just adjusted things as needed. The plane till is just screwed into the vertical boards and the saw holders run the whole width, so in the unlikely event that I suddenly find myself with a pile of extra saws, I could pull out the plane till and build a new one.
I used commodity lumber from a big box store to reduce the amount of milling I’d have to do in not-ideal circumstances and, frankly, because I was a little worried about mistakes. In the end, I did kind of mess up the T notches and had to screw in the saw holders because they wouldn’t seat quite well enough to just glue them.
I built it all using hand tools, except the French cleats that it hangs from. After I decided to use plywood for the cleats, it made more sense to go to my community wood shop and use the table saw.
It’s finished with Skidmore’s Liquid Beeswax Woodfinish, a product I learned about in Port Townsend. It’s similar to using tung oil, but dries quicker.
